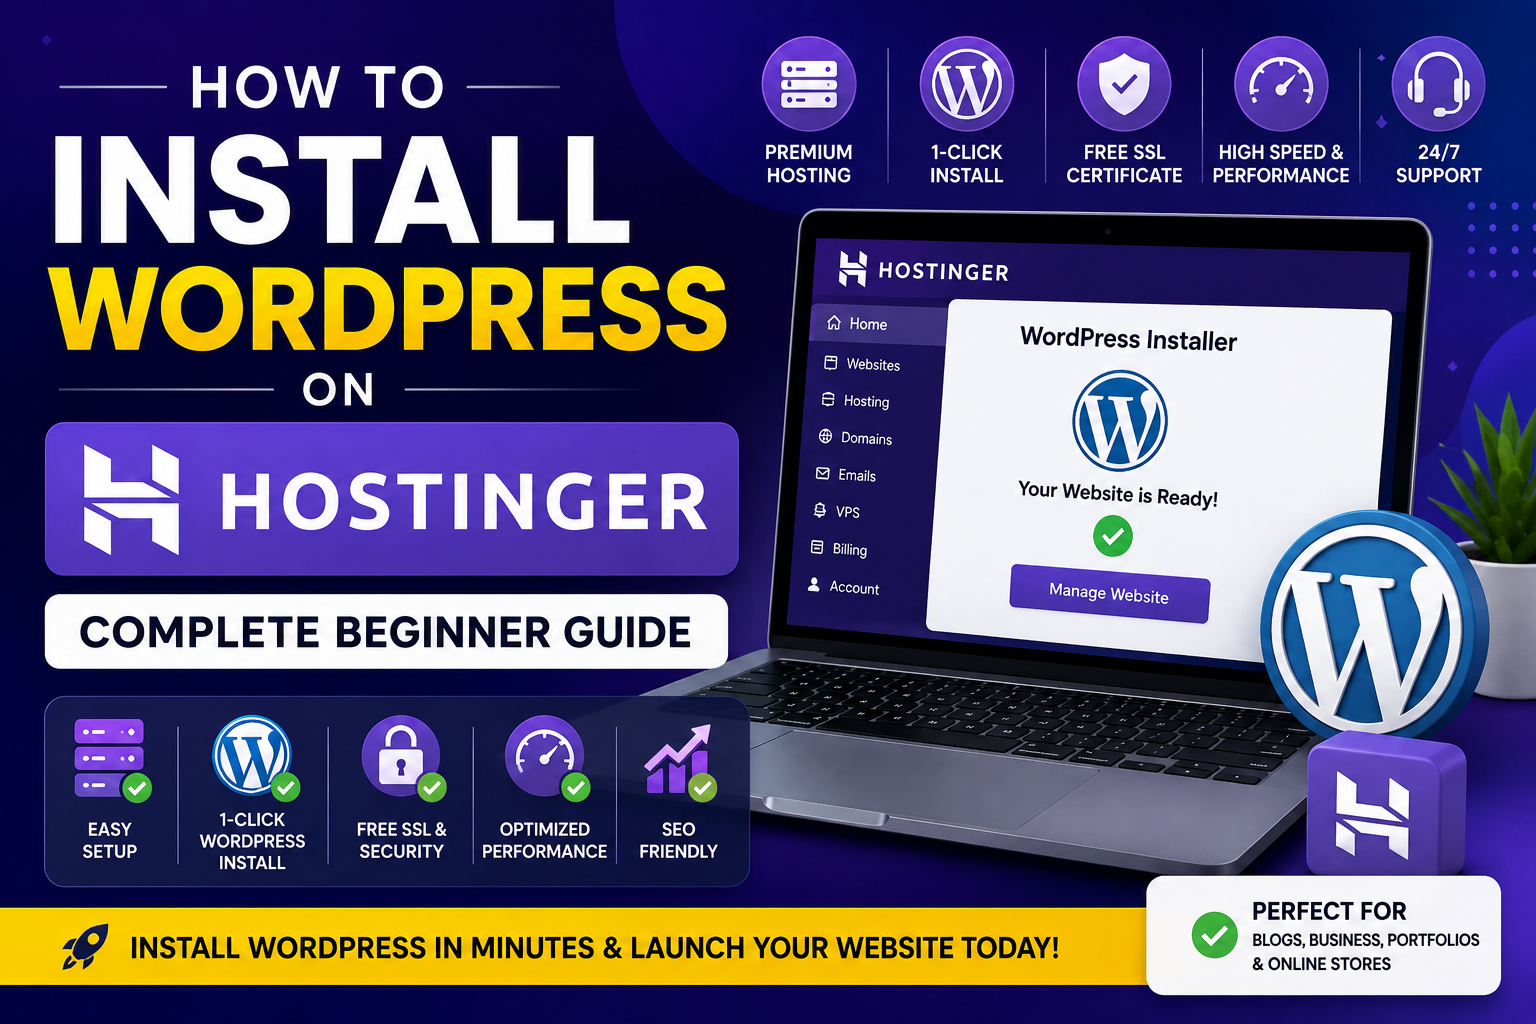
🚀 How to Install WordPress on Hostinger
Hostinger is one of the most popular hosting providers for WordPress websites.
It provides:
✔️ Fast performance
✔️ Affordable pricing
✔️ Easy WordPress setup
✔️ Free SSL
✔️ LiteSpeed servers
✔️ Beginner-friendly dashboard
In this guide, we’ll learn how to install WordPress on Hostinger step-by-step.
⭐ Why Choose Hostinger for WordPress?
Hostinger is popular because it offers:
✔️ Fast LiteSpeed hosting
✔️ Affordable plans
✔️ Free SSL certificate
✔️ One-click WordPress installation
✔️ Daily backups (on selected plans)
✔️ Excellent uptime
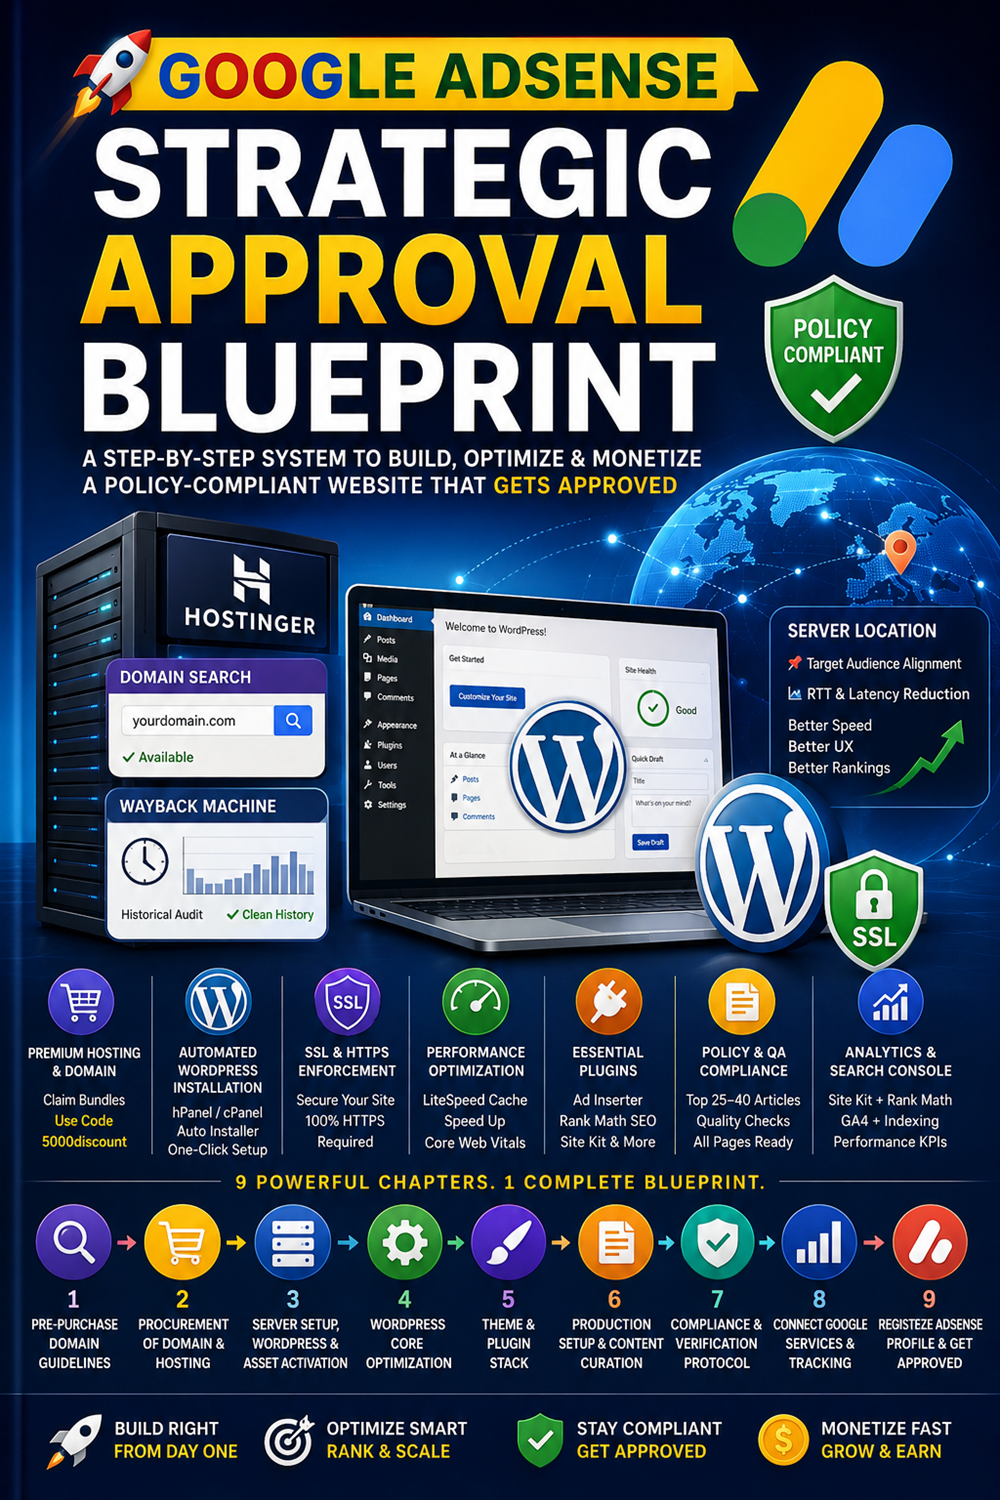
🖥️ Step 1 — Purchase Hosting & Domain
Visit Hostinger and choose a hosting plan.
Recommended Plans
✔️ Premium Web Hosting
✔️ Business Hosting
These plans include:
- Free domain
- SSL certificate
- Better performance
- Multiple website support
🌐 Step 2 — Login to Hostinger hPanel
After purchasing hosting:
- Login to Hostinger account
- Open hPanel dashboard
- Select your hosting plan
⚡ Step 3 — Install WordPress
Method 1 — Auto Installer
- Open hPanel
- Click Websites
- Click Manage
- Open Auto Installer
- Select WordPress
🔐 Step 4 — Enter WordPress Details
Fill:
✔️ Website title
✔️ Admin username
✔️ Strong password
✔️ Admin email
Important Tip
Use strong passwords for better website security.
📦 Step 5 — Complete Installation
Click:
Install
Hostinger will automatically:
✔️ Install WordPress
✔️ Configure database
✔️ Connect domain
✔️ Setup admin dashboard
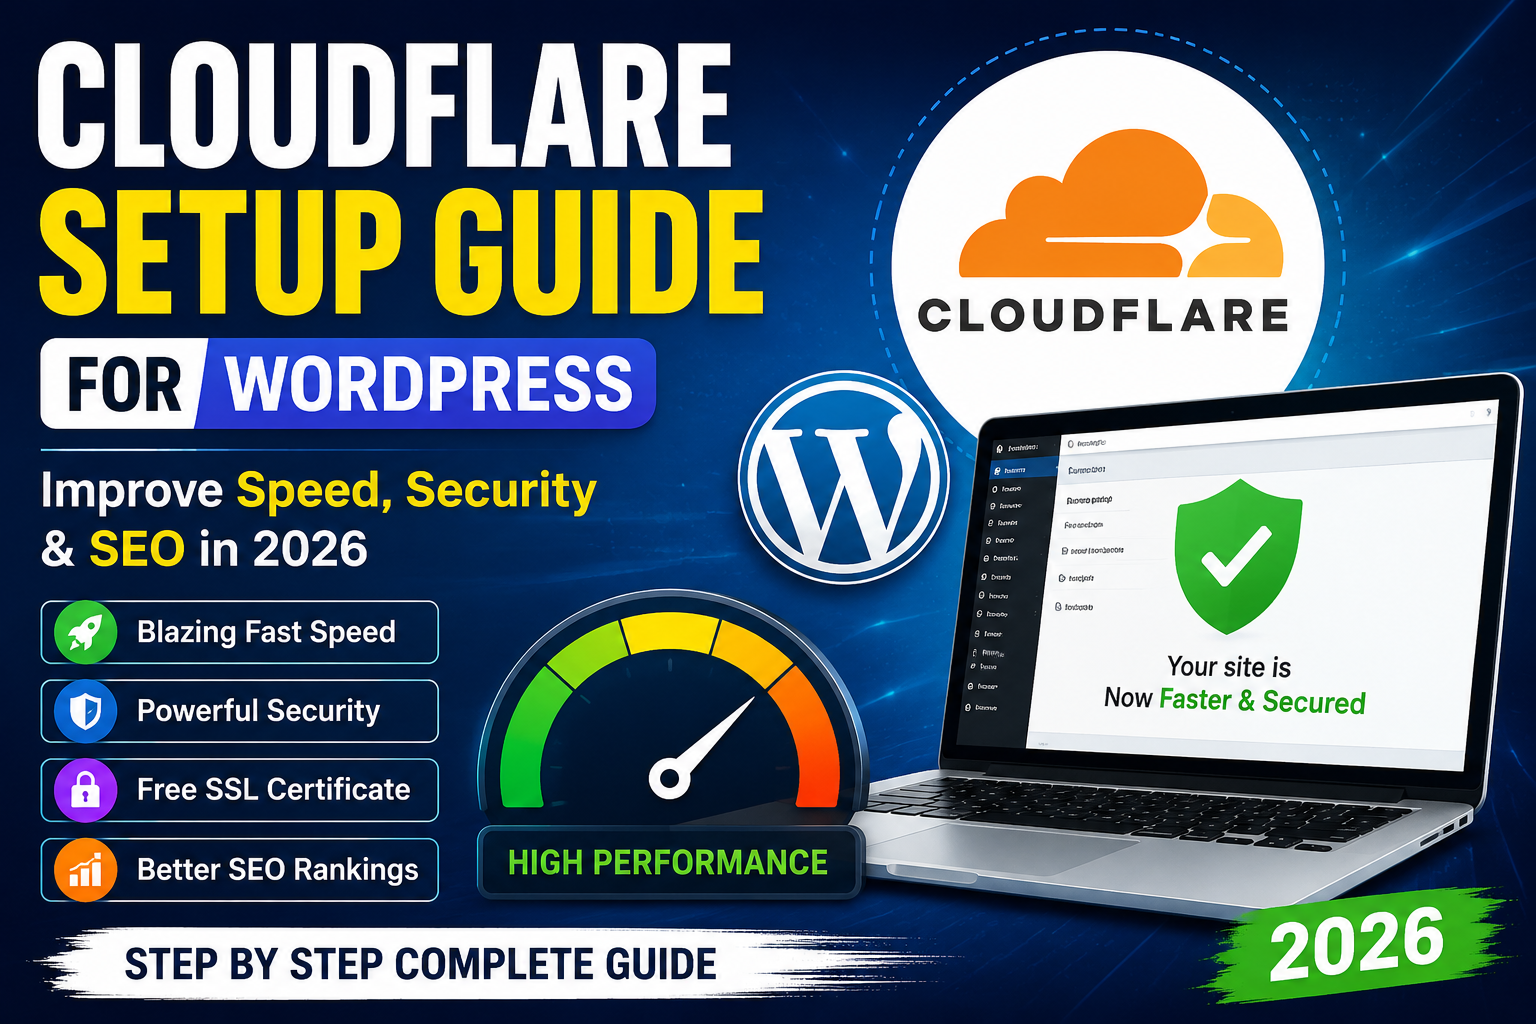
🔥 Step 6 — Enable SSL Certificate
SSL improves:
✔️ Website security
✔️ SEO rankings
✔️ User trust
✔️ Adsense approval chances
Enable SSL
- Open hPanel
- Go to Security → SSL
- Activate SSL certificate
⚙️ Step 7 — Install Essential Plugins
After WordPress installation, install important plugins.
Recommended Plugins
✔️ Rank Math SEO
✔️ LiteSpeed Cache
✔️ Wordfence Security
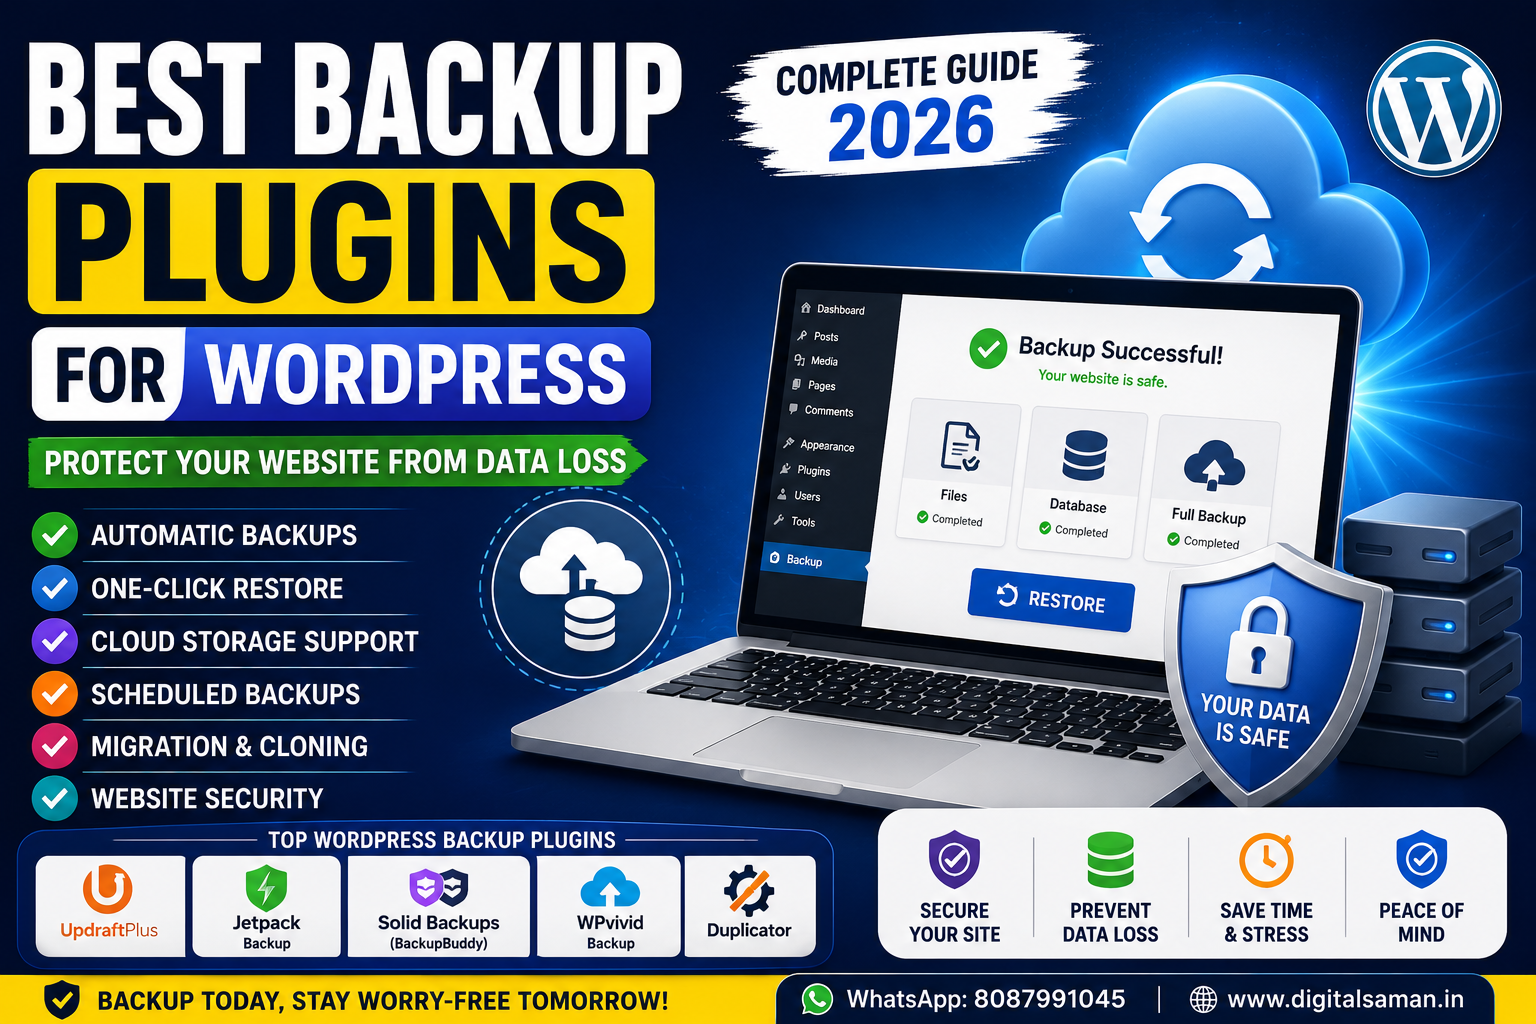
✔️ UpdraftPlus Backup
✔️ WPForms
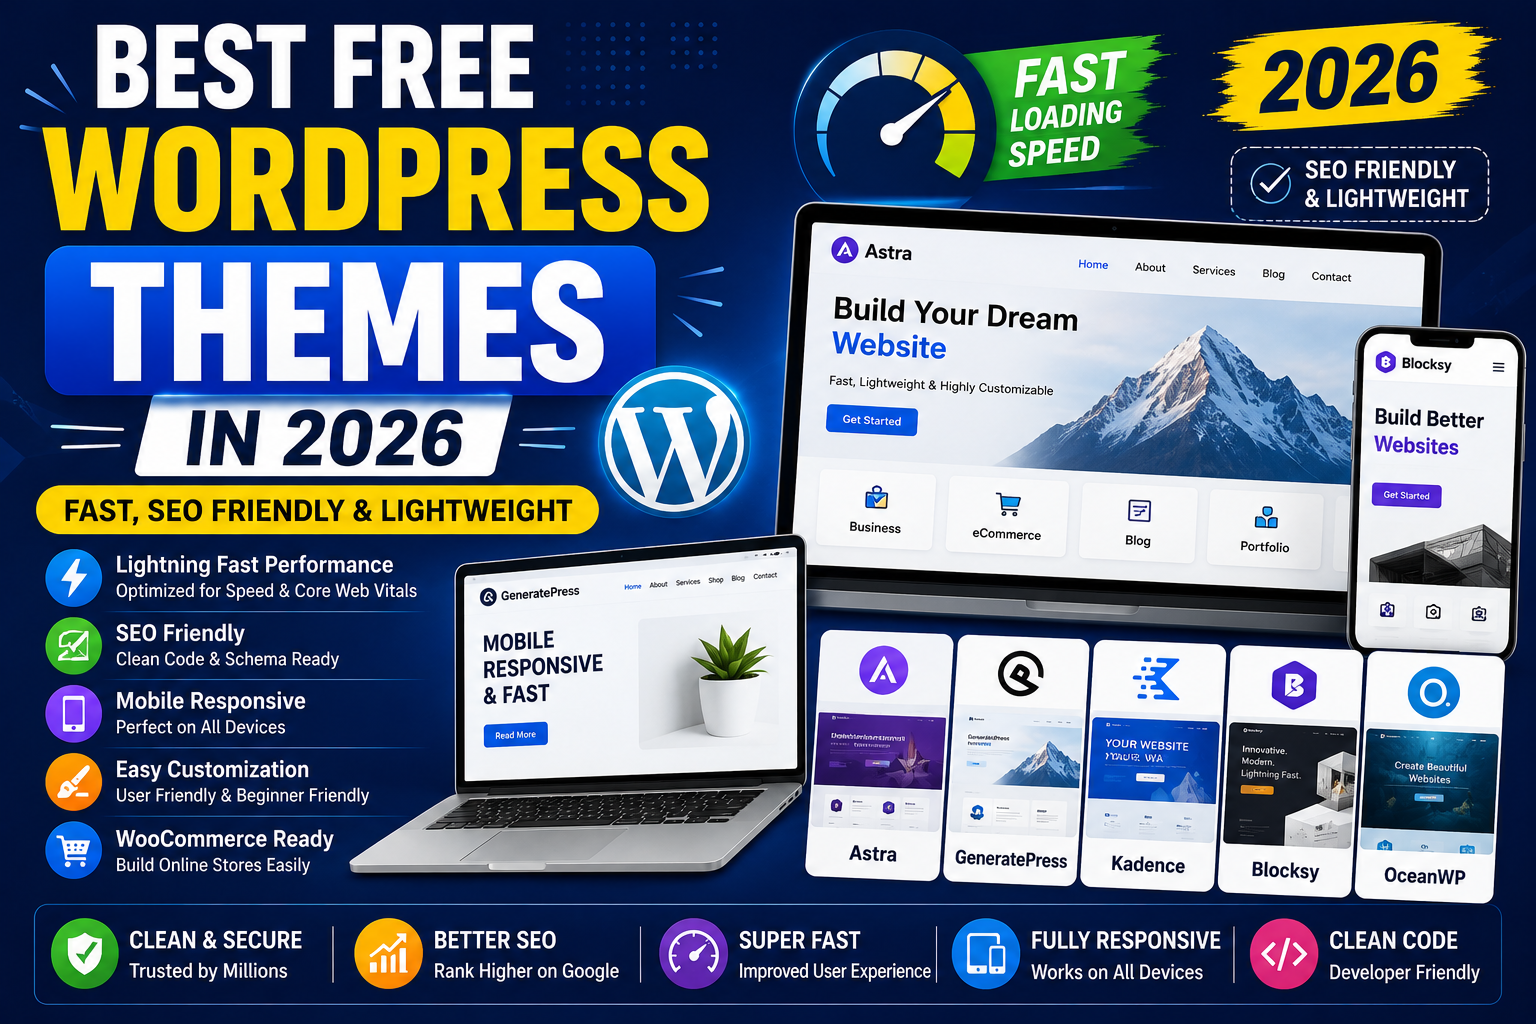
🖼️ Step 8 — Install Lightweight Theme
Recommended Themes
✔️ Astra
✔️ GeneratePress
✔️ Kadence
✔️ Blocksy
These themes provide:
- Fast loading speed
- SEO optimization
- Mobile responsiveness
📊 Step 9 — Optimize Website Speed
Recommended Steps
✔️ Enable LiteSpeed Cache
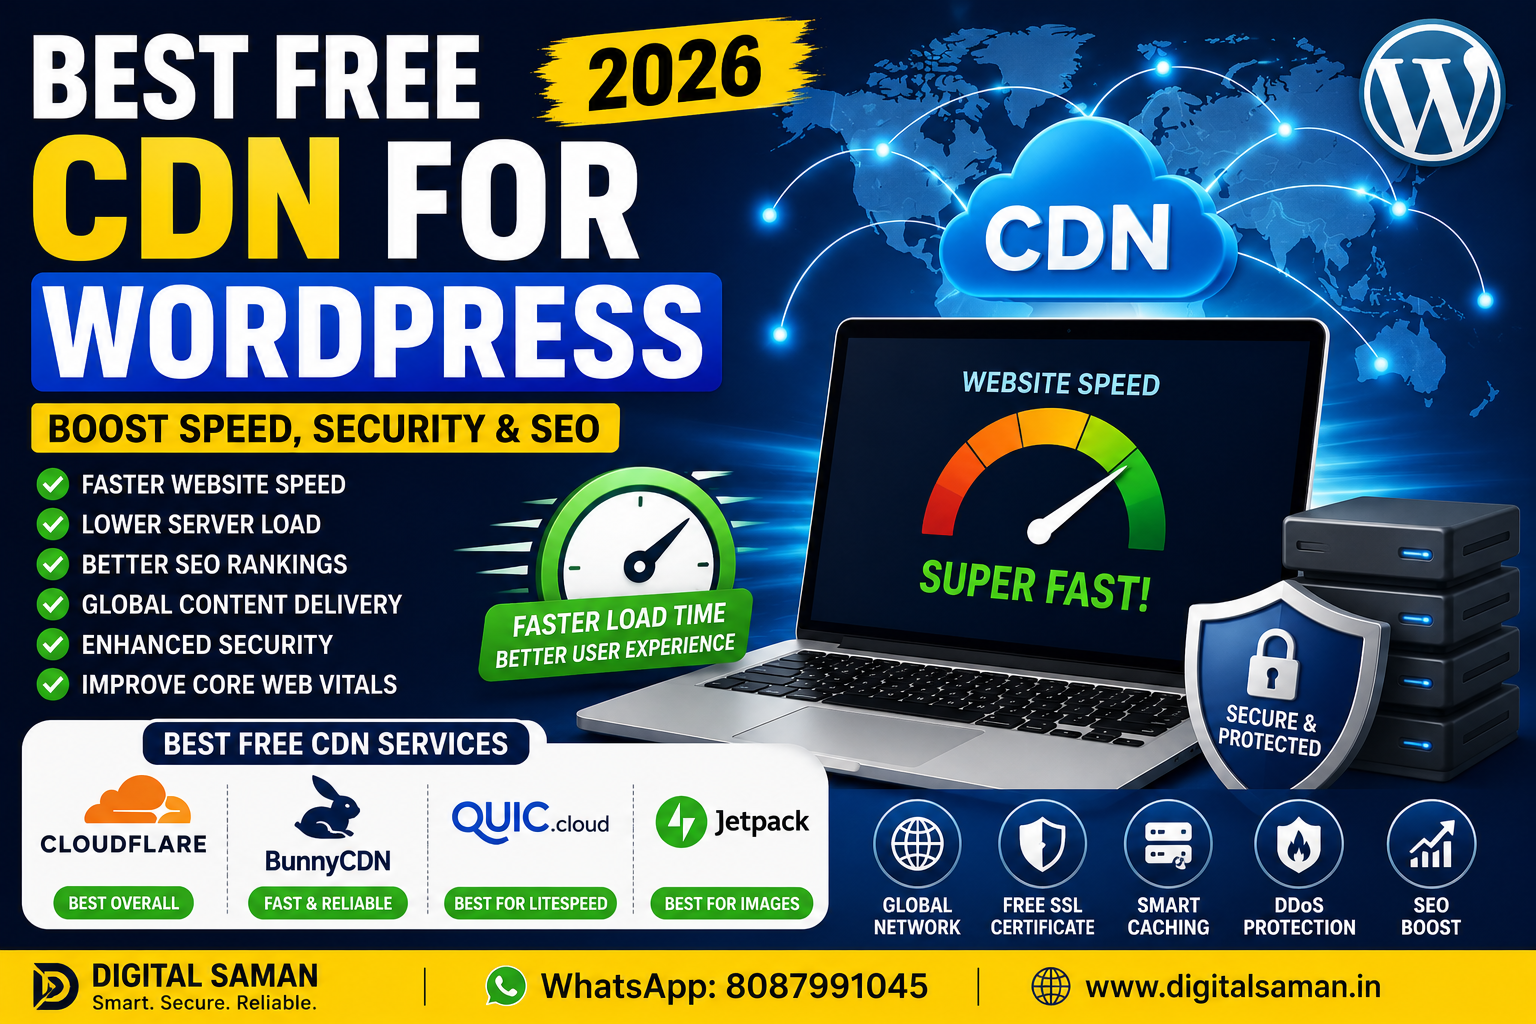
✔️ Use Cloudflare CDN
✔️ Compress images
✔️ Use WebP images
✔️ Remove unused plugins
🔍 Step 10 — Login to WordPress Dashboard
Access your admin dashboard:
Login using:
- Admin username
- Password
⚠️ Common Mistakes to Avoid
❌ Weak passwords
❌ Heavy themes
❌ Too many plugins
❌ Ignoring backups
❌ Not enabling SSL
🎯 Why Hostinger is Good for Beginners
Hostinger provides:
✔️ Easy dashboard
✔️ Fast setup
✔️ Affordable hosting
✔️ Beginner-friendly tools
✔️ Excellent WordPress compatibility
🧠 Final Verdict
Installing WordPress on Hostinger is simple and beginner-friendly.
With LiteSpeed servers, free SSL, and one-click installation, Hostinger remains one of the best hosting providers for WordPress websites.
For best performance:
✔️ Use lightweight themes
✔️ Install caching plugins
✔️ Enable SSL
✔️ Optimize website speed
🚀 We Recommend Hostinger
📢 Exclusive Offer 🎁
If you purchase Hostinger hosting through our link and contact us via WhatsApp or Email,
you will receive one Premium Website Template absolutely free (100% Free of Cost).